The first big project at the cabin is done! Read on for before and after pics and all the details. I’ll also be sharing the cost info at the end because I feel like it is always so hard to find, and I wish more people would include it on their posts.
Process
We found our contractor through a recommendation from our realtor. It may come as a surprise, but I don’t usually get multiple quotes on home improvement jobs. If the recommendation comes from someone I trust, and the price is reasonable, I generally just go with it. Too much else to do.
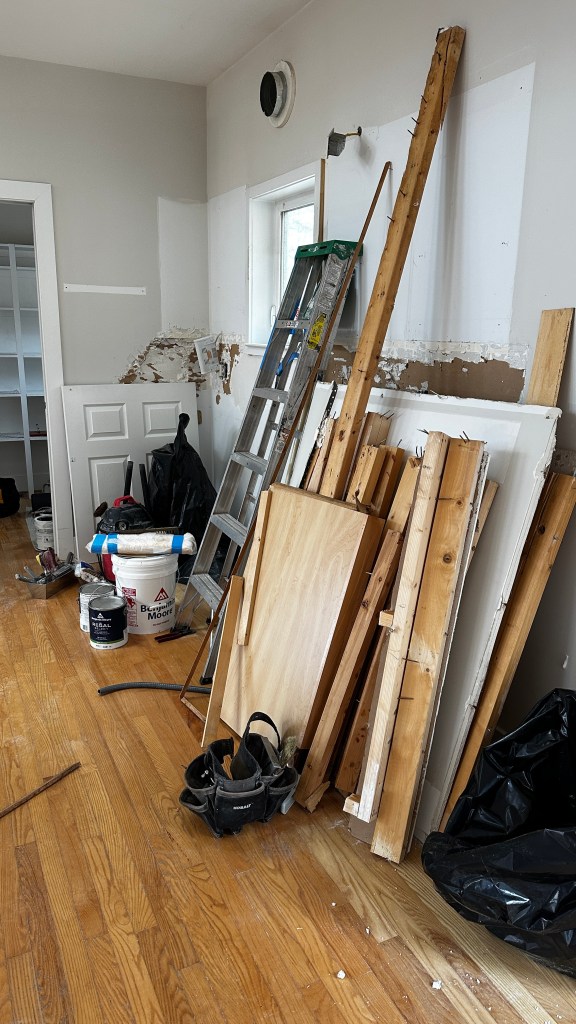
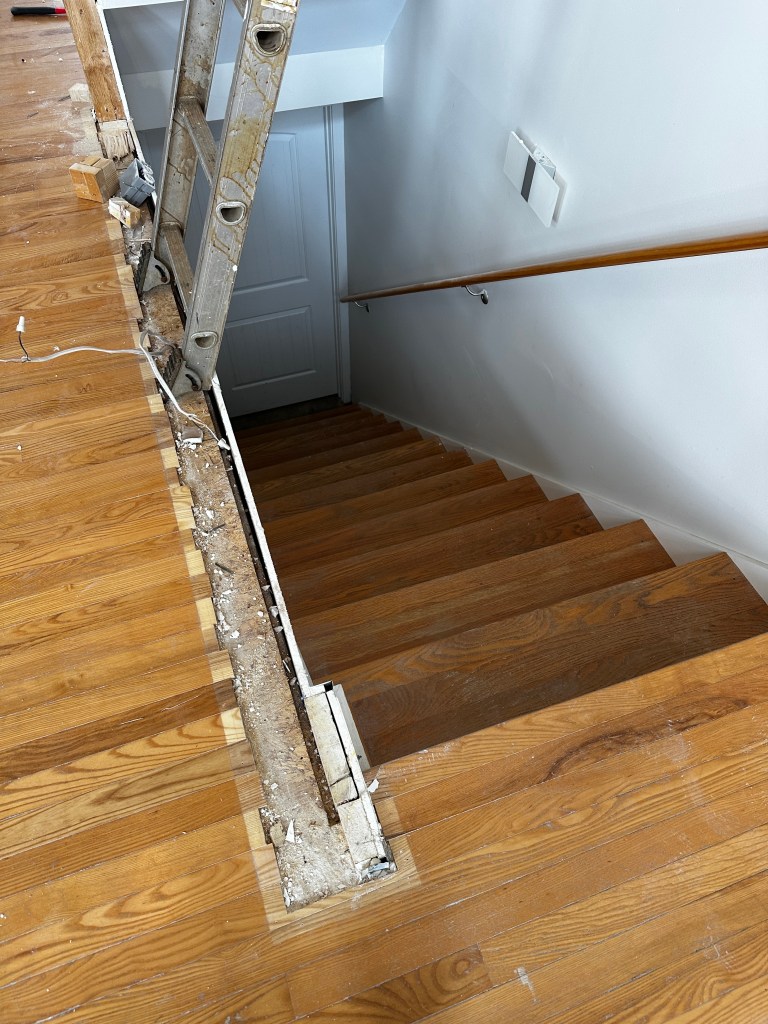
The kitchen, hobbit-closet, and wall next to the stairs all got demo’d first so that all of the destructive work was completed prior to the painting and floors.
Order of operations:
- Demo kitchen, hobbit-closet, stair wall
- Remove bathroom counters and sinks (keeping vanities but replacing tops and sinks)
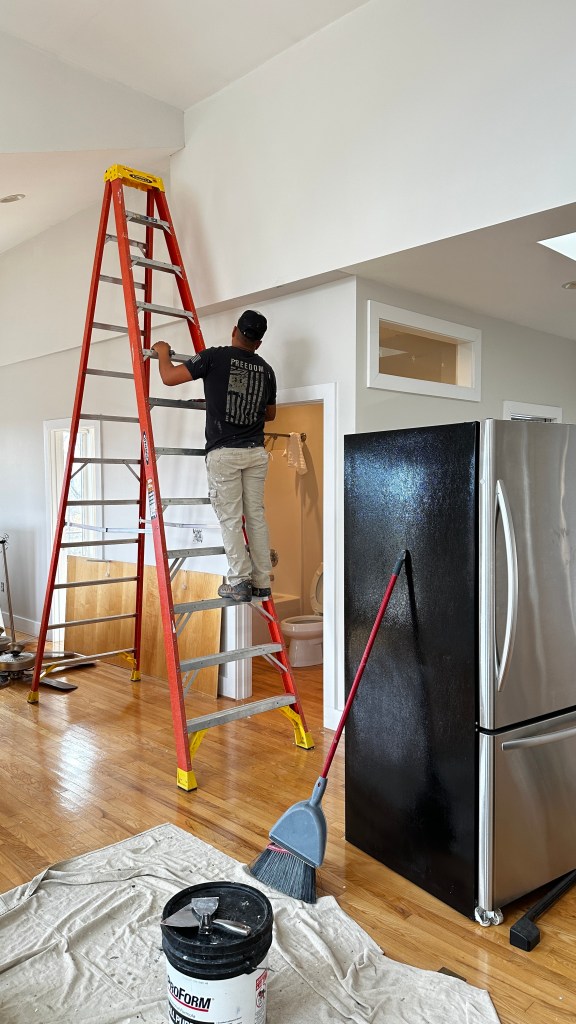
- Paint (order: Prep, Ceilings, Trim/Doors, Walls)
- Floor refinishing
- Final baseboard trim coat (to cover any floor refinishing damage)
- Painted shoe molding install
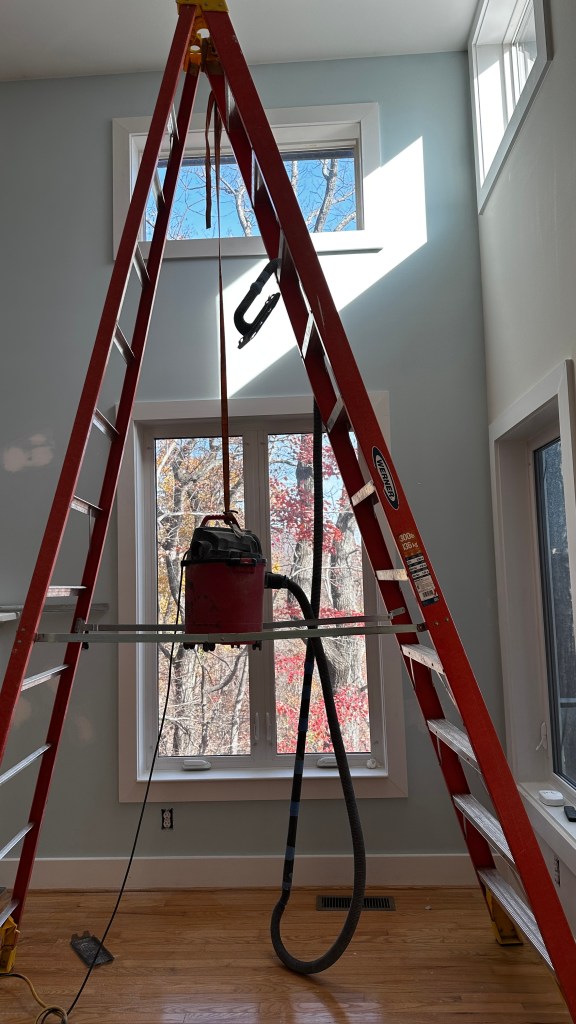
I had originally thought that it would be better to paint AFTER the floors because I’d seen some comments online about the sanders damaging the baseboards and dust sticking to walls. But I’m so glad that they did them after – the amount of prep required and all the ladders moving around constantly would’ve definitely damaged newly finished floors. Not to mention paint drips. The dust wasn’t bad at all – thankfully they used a dustless system.
Paint
As I discussed in the previous post, I’m going for a “modern cabin” design that will be minimalistic, but also cozy and highlight the natural beauty and views surrounding the house. That led me to decide on an all-white interior paint job….and the dreaded task of picking a white paint.
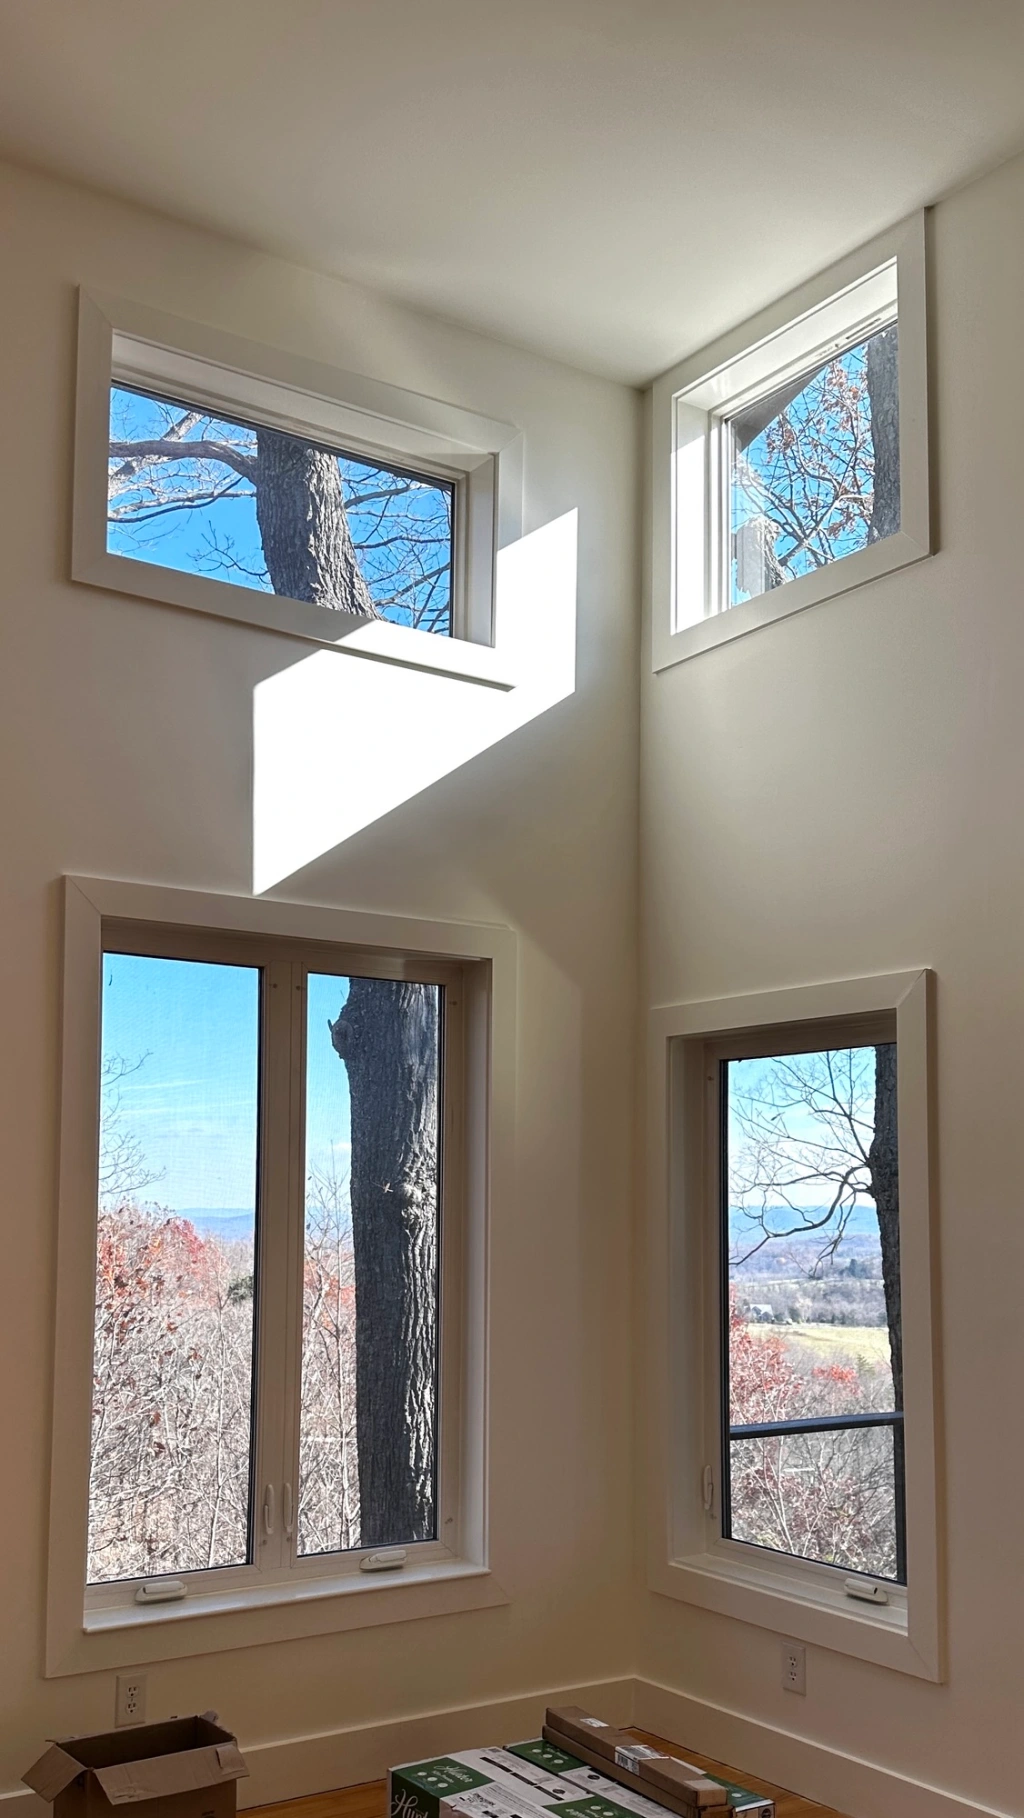
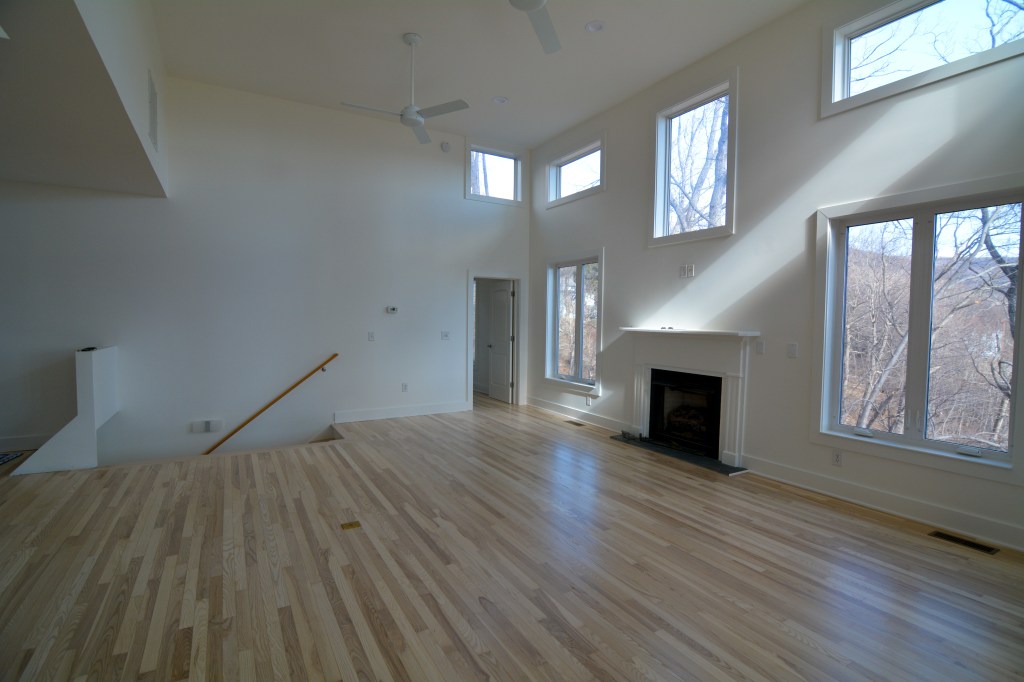
After a lot of research, I chose Benjamin Moore Simply White. It has a relatively high LRV of 89.5 (light reflective value) compared to some other off-whites – which means that it will look brighter. The cabin isn’t dark because of all the windows and skylights, but with all of the trees there is less direct sunlight.

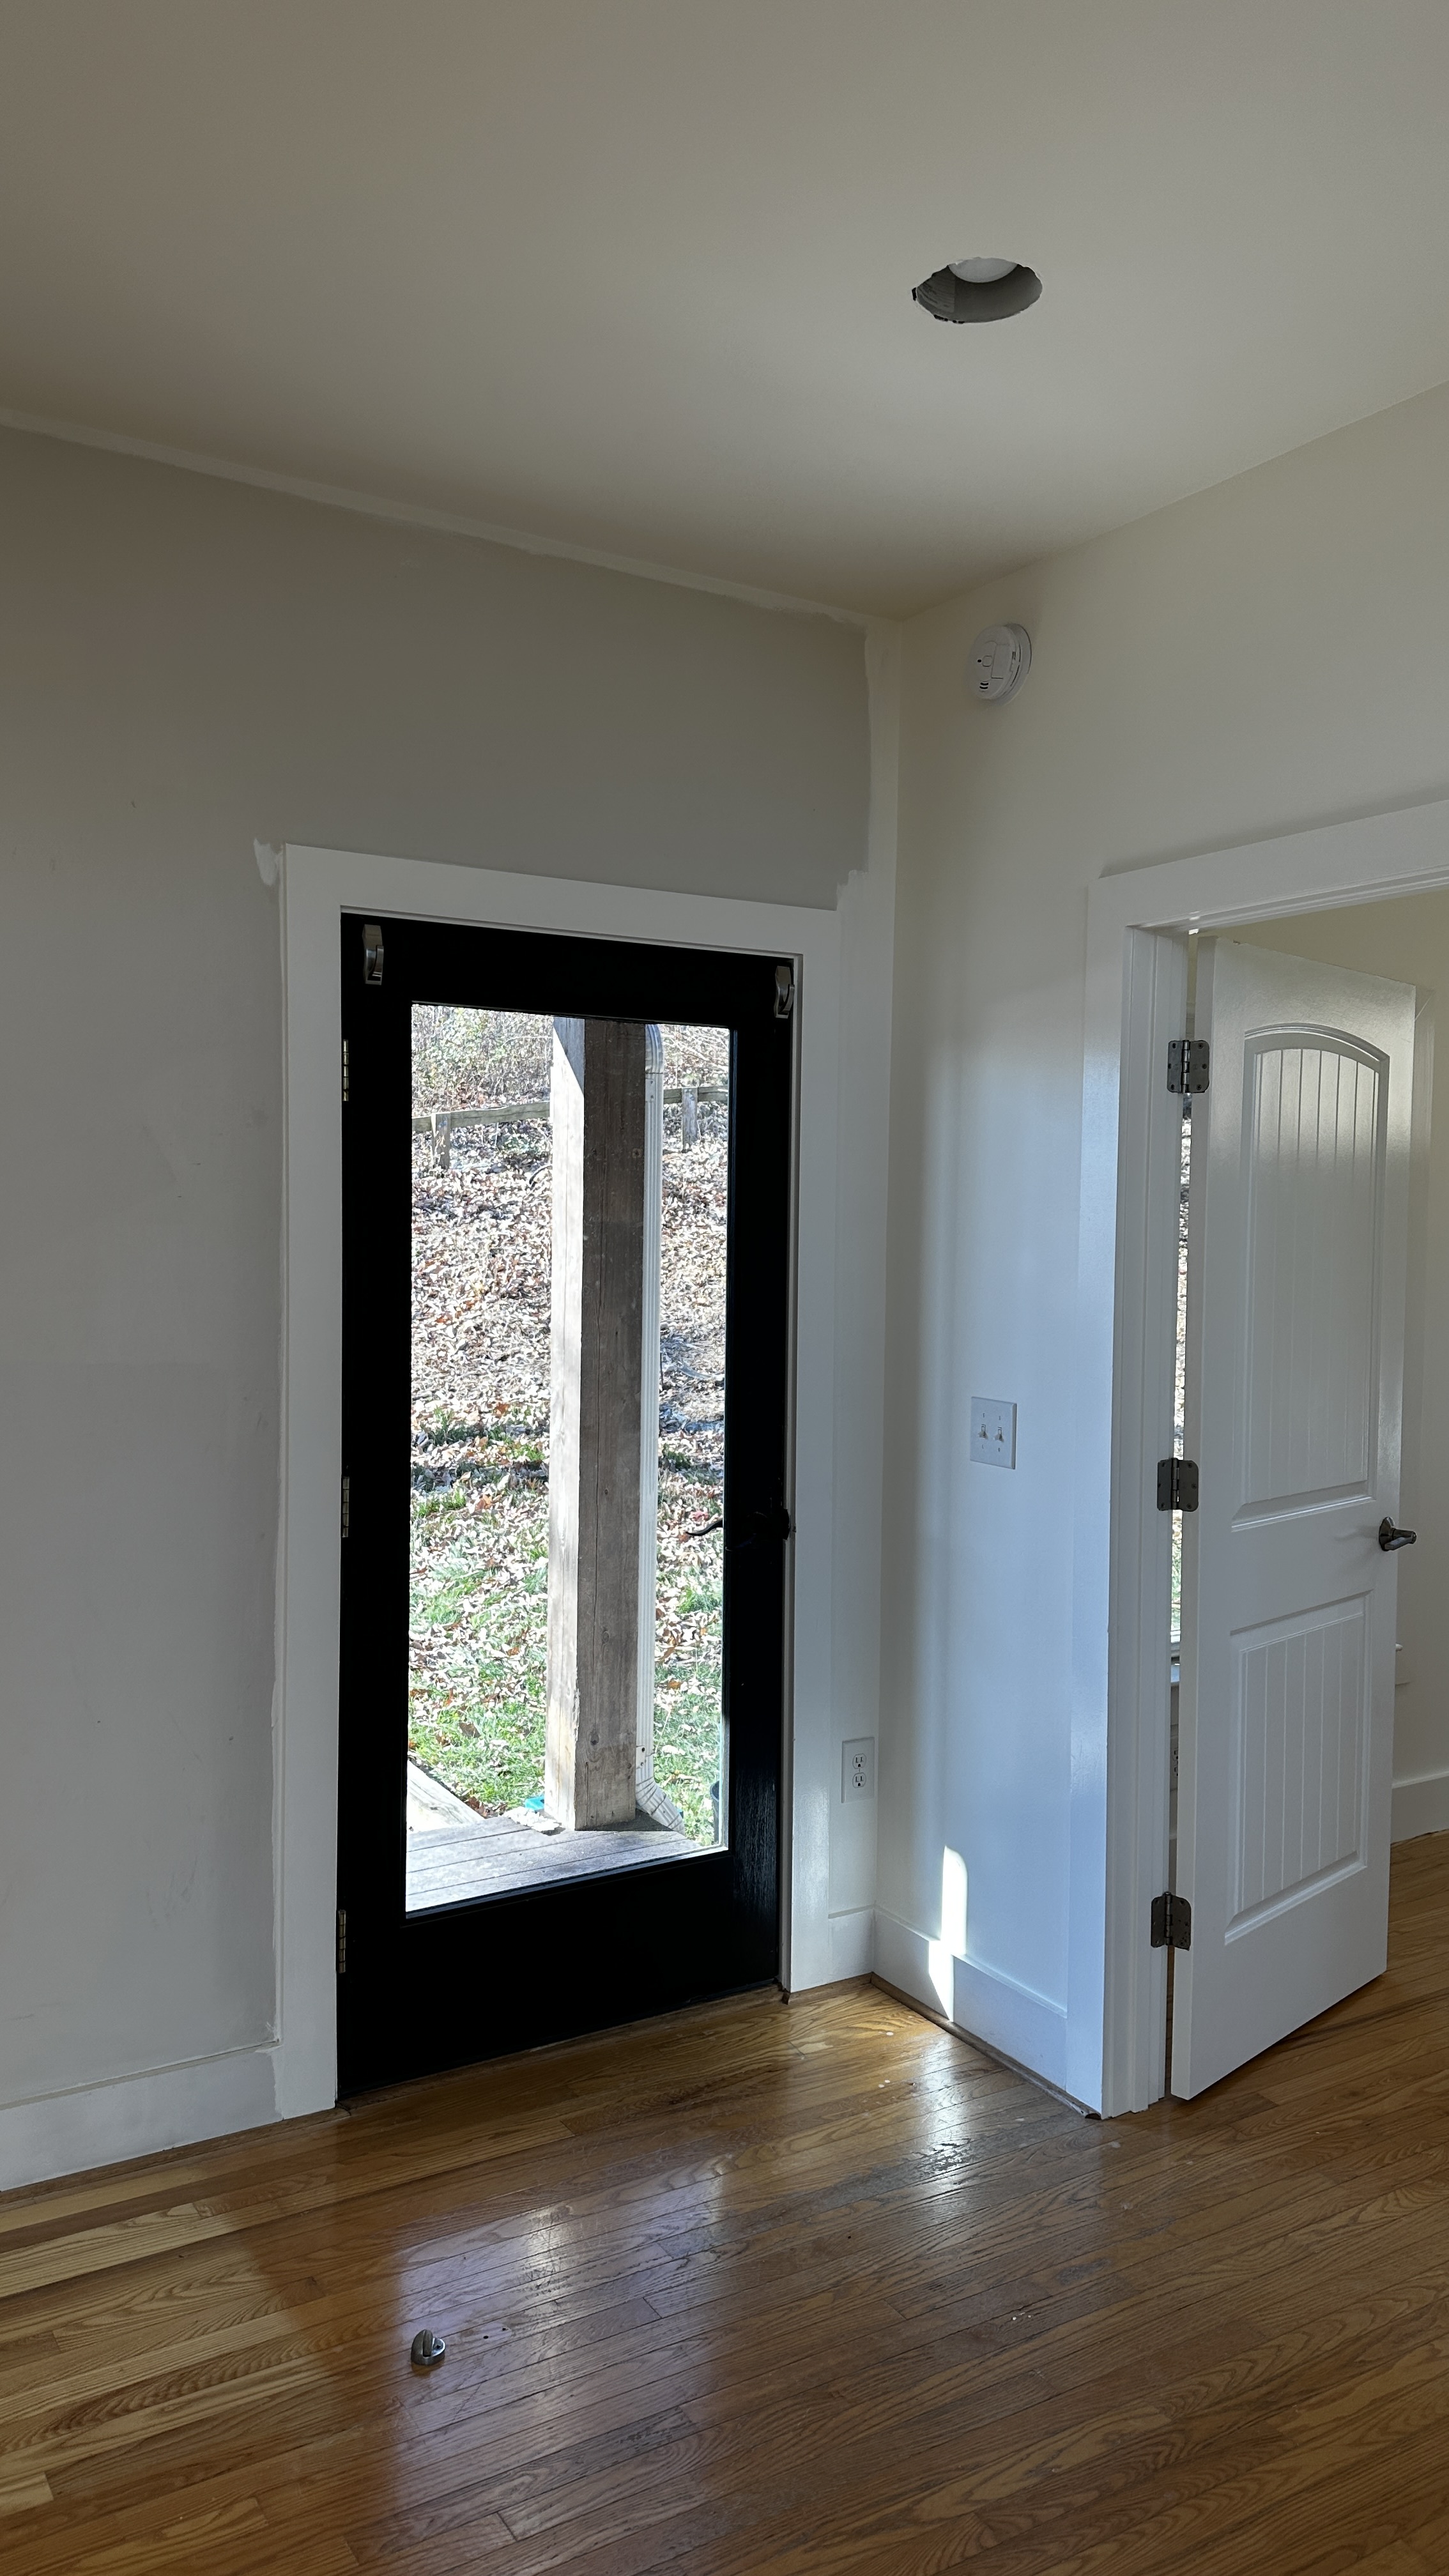
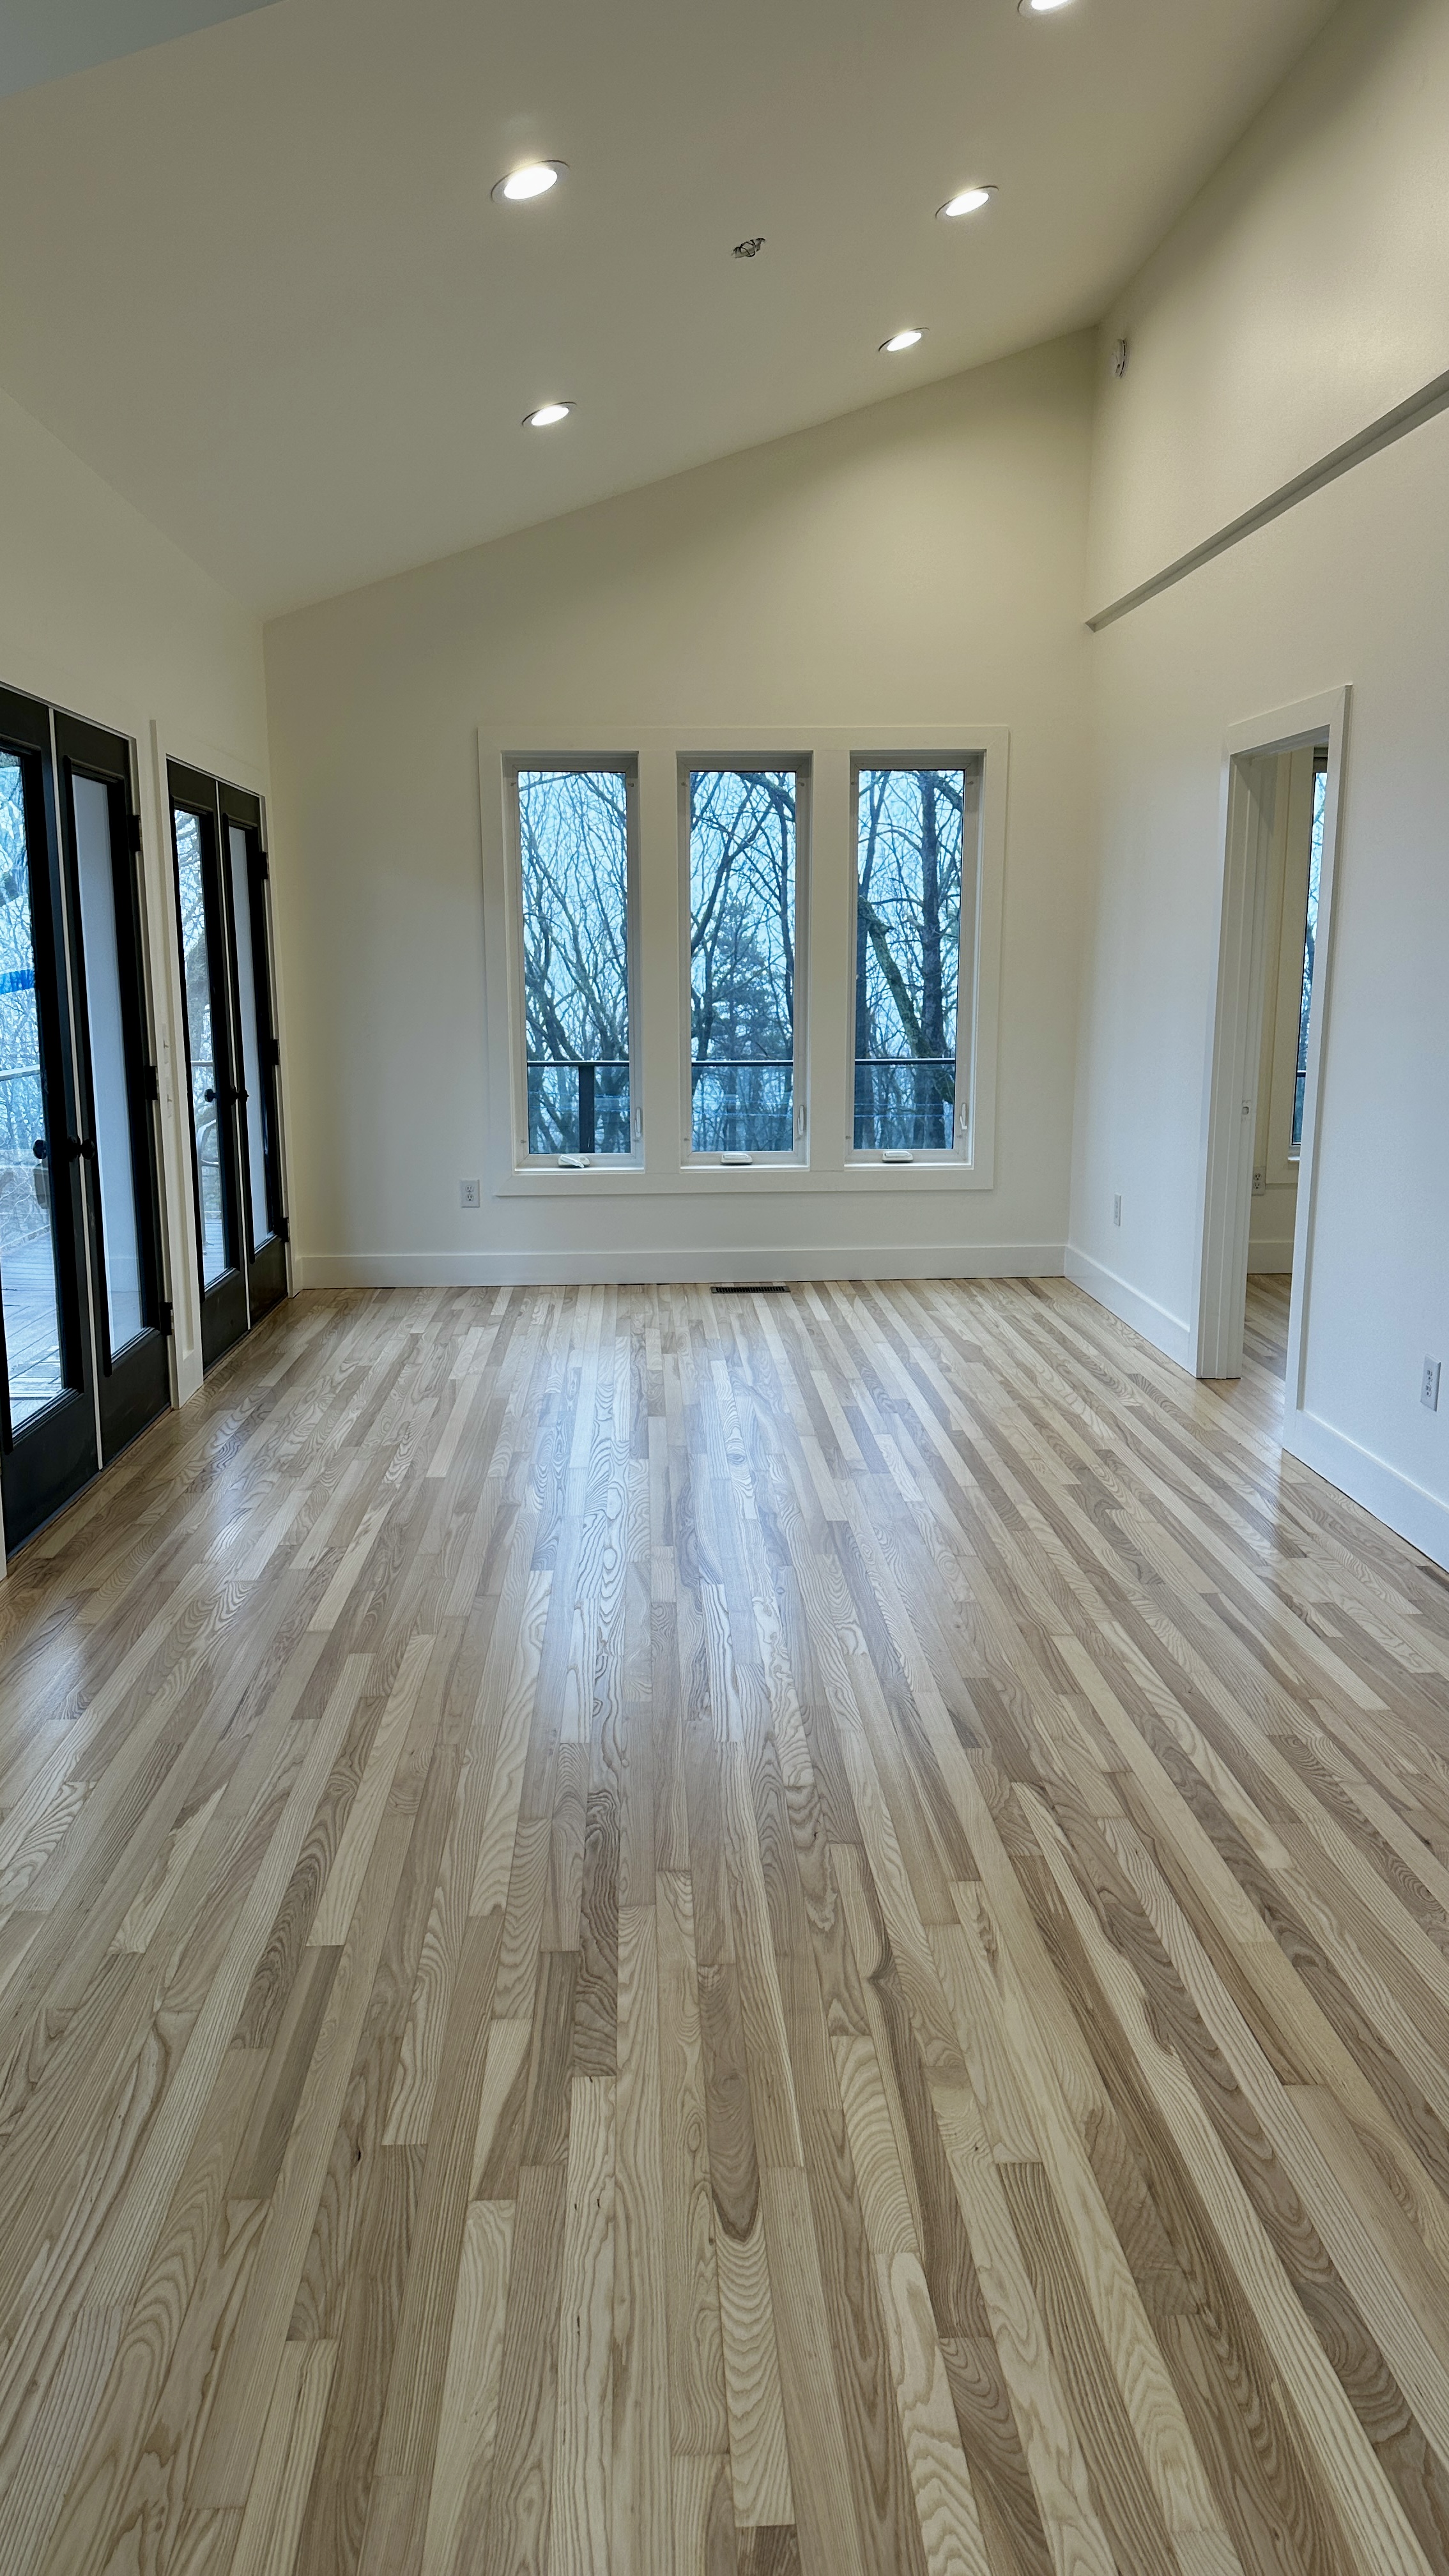
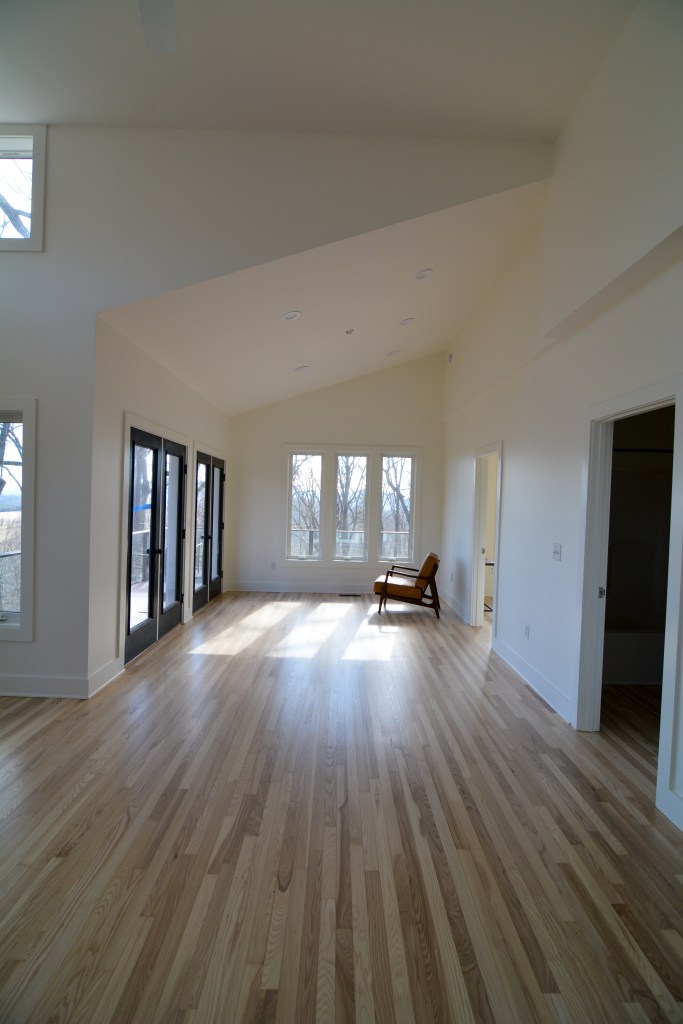
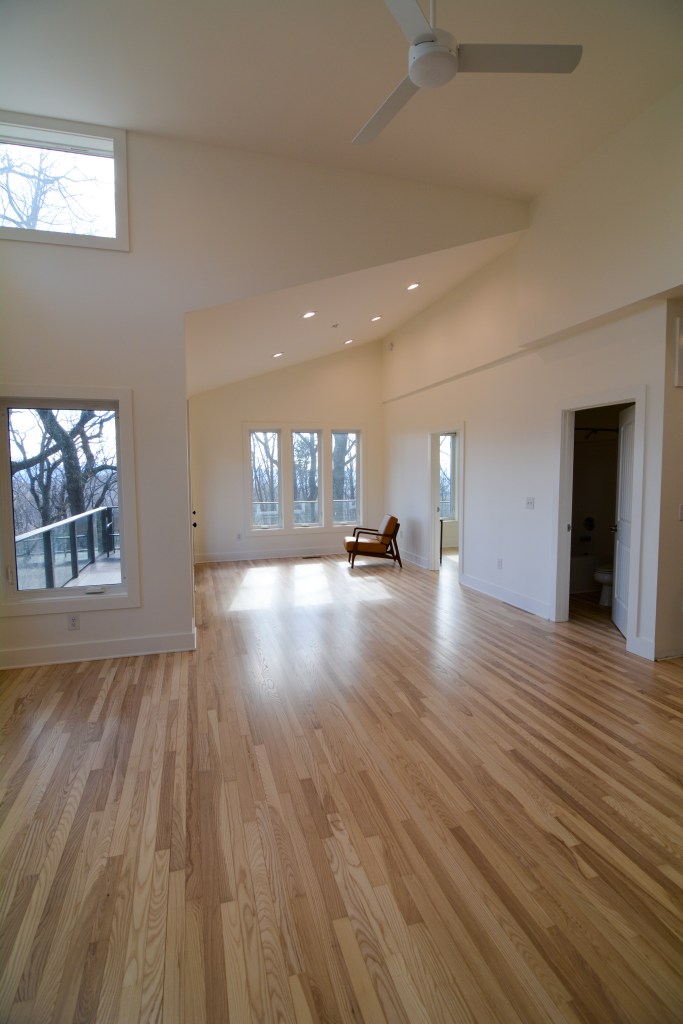
Simply White also has warm undertones, which will help with the cozy vibe and won’t look dingy. But it isn’t too warm, which would make it look yellow depending on the lighting. I chose to do the same color everywhere, just with different sheens – walls (satin), ceilings (flat), trim (semi-gloss). This creates a more modern look because there are no breaks or transitions between the colors in the space, so it looks super seamless and clean. The picture below really shows the contrast:
If you’re on your own white paint picking journey…I highly recommend this post from one of my favorite blogs. It does a great job of explaining the nuances of white paints and charting out popular options.
Floors
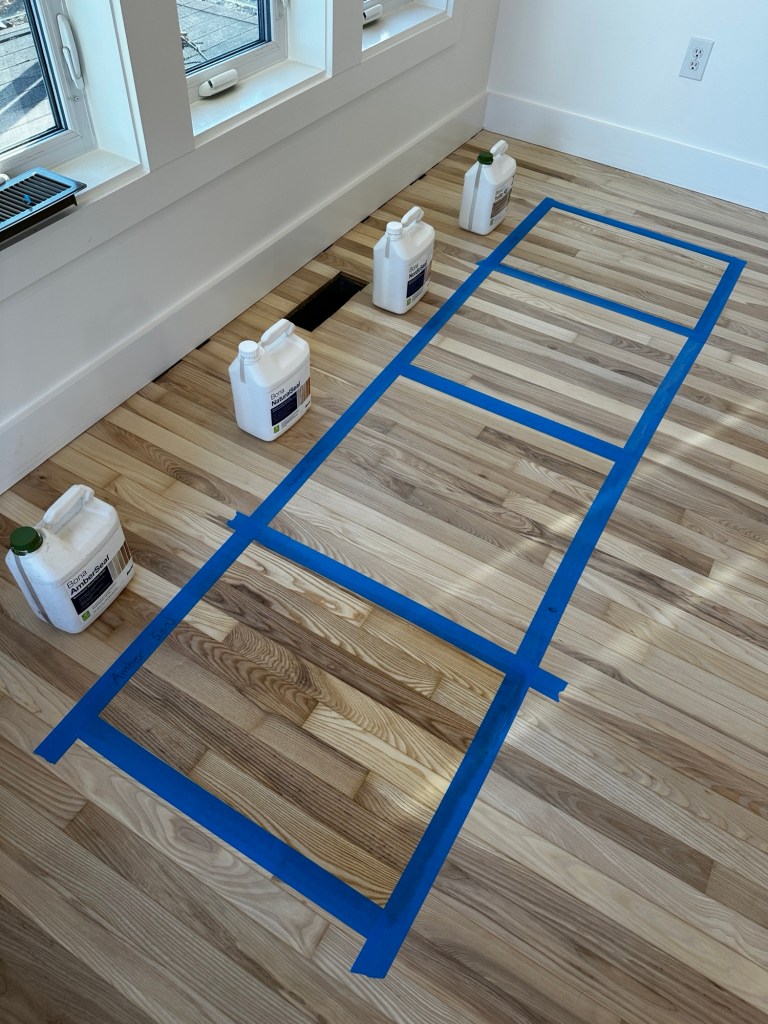
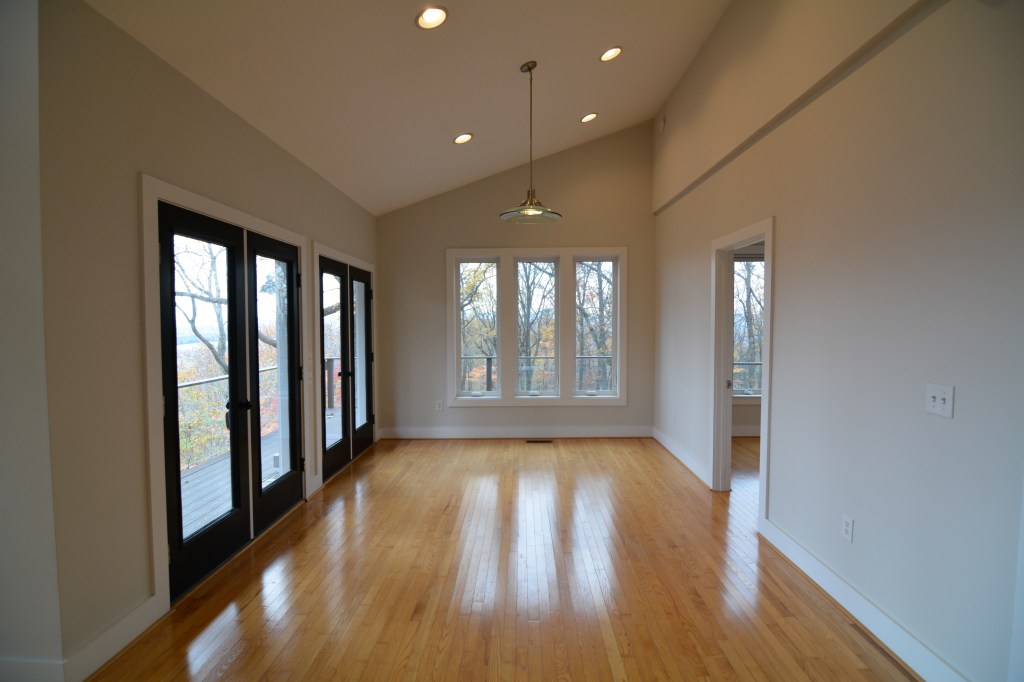
For the floors, we decided on Bona Natural Seal with Traffic HD Satin. I wanted something natural and light that would look close to raw wood and emphasize the modern cabin / natural vibe. Natural Seal’s description is “Floor sealer creating the look of unfinished wood”, so yeah, exactly what I was looking for.
Even though I was already pretty sure that’s what I wanted, our contractor tested four different samples for us. It just confirmed my pick, but you never know – better to be safe than sorry.
These products are water-based, which is important because it prevents the yellowing over time that you can get with oil-based products. It is also non-toxic, and still highly durable.
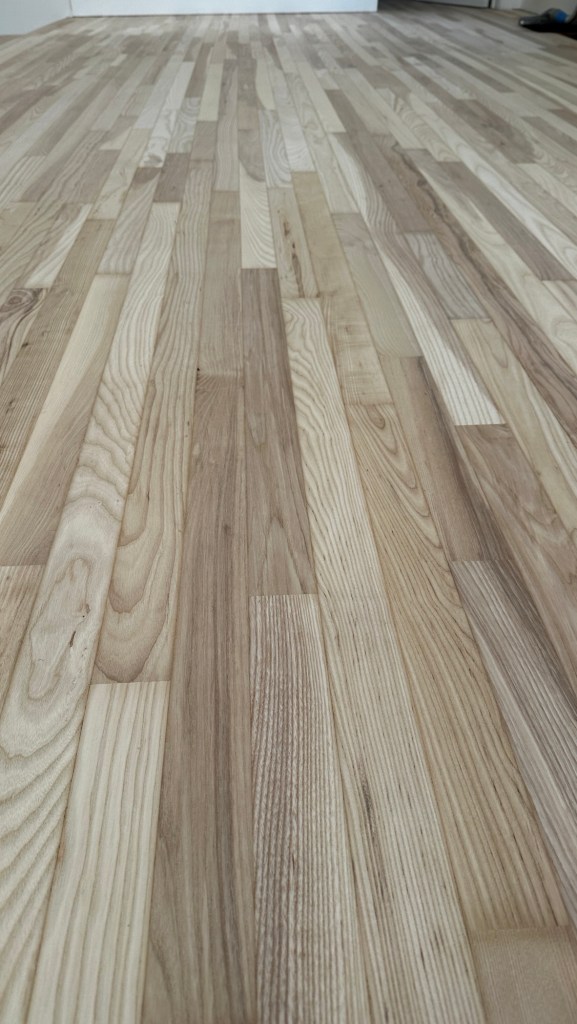
The floors turned out to be pre-finished ash wood, so they took extra sanding to get rid of the beveled ridges that pre-finished boards come with. The ash wood was a fun surprise – it has a ton of variation in the boards and is more unique than a standard white oak.
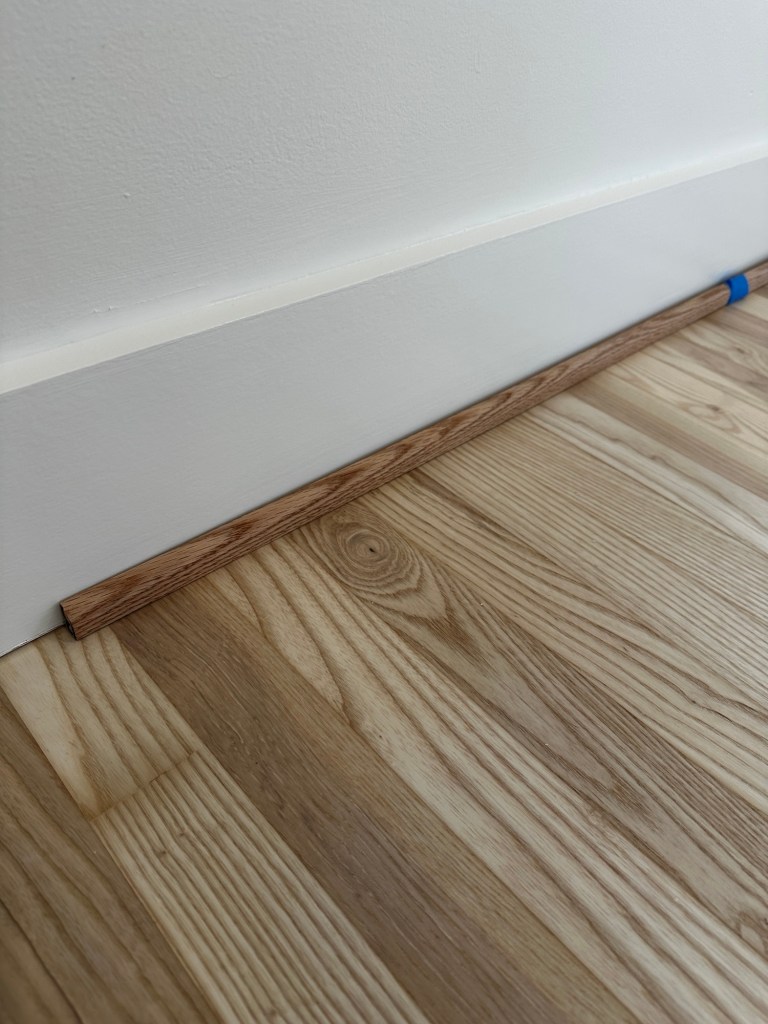
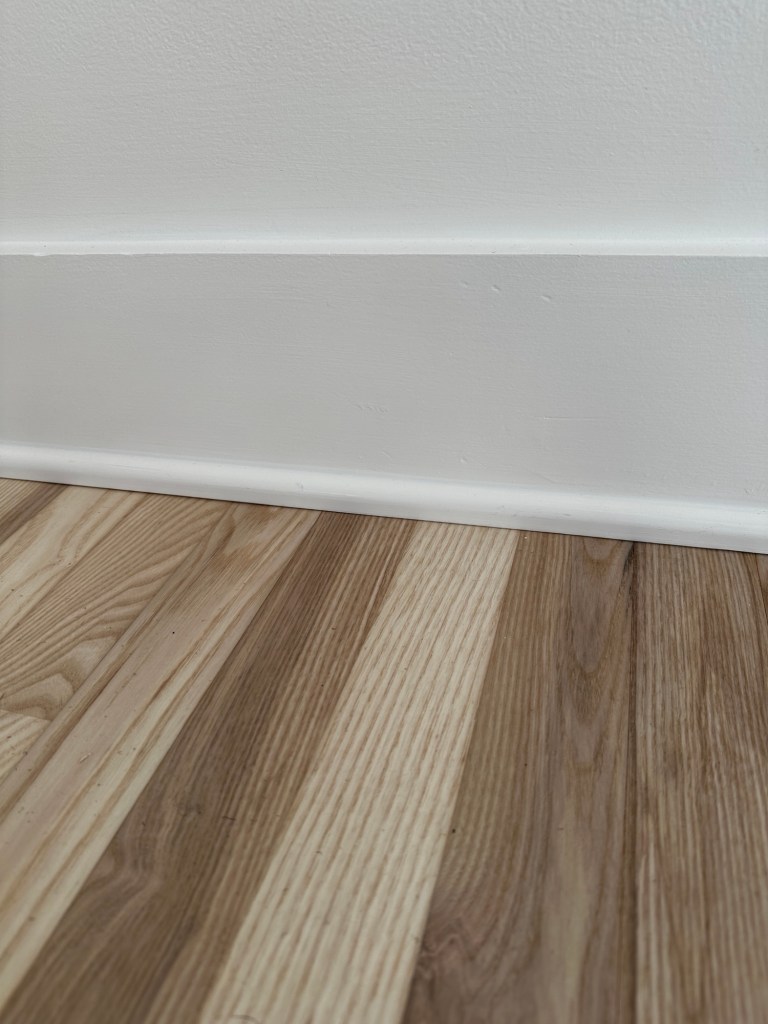
Lastly, we had white painted shoe molding installed to match the baseboards. Originally, I thought that we would just re-install the old shoe stained wood molding. But when we put it up against the new floors, it was way too dark. Getting shoe molding to match the floors was going to be expensive, so we went with painted. Honestly now that it’s done, it looks cleaner and more modern so I think it turned out for the best. Lesson learned: just plan on replacing with new shoe molding.
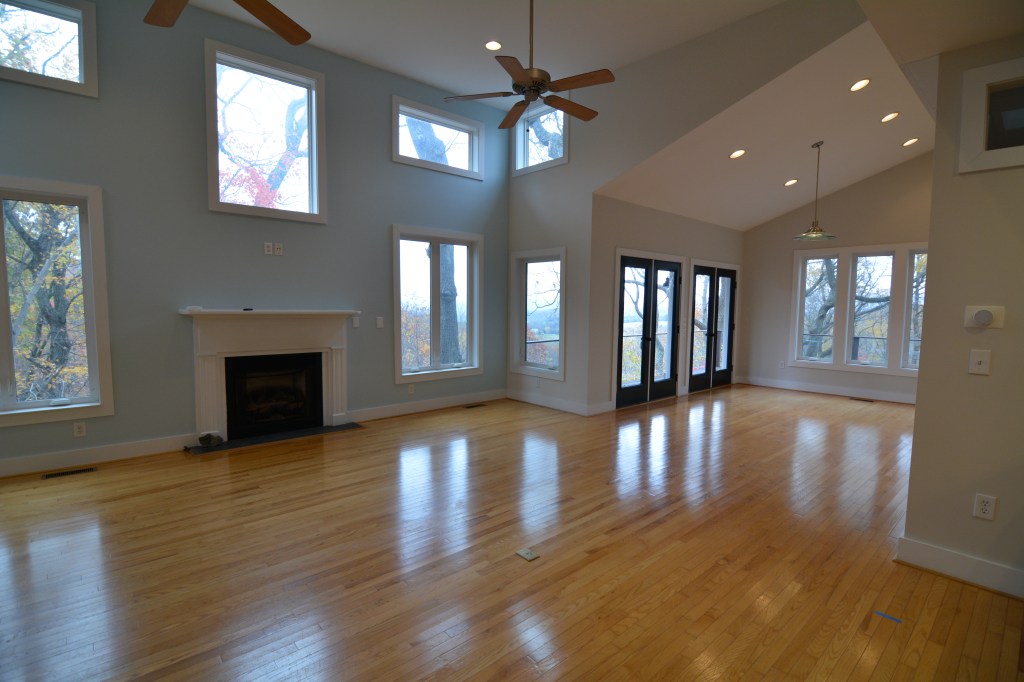
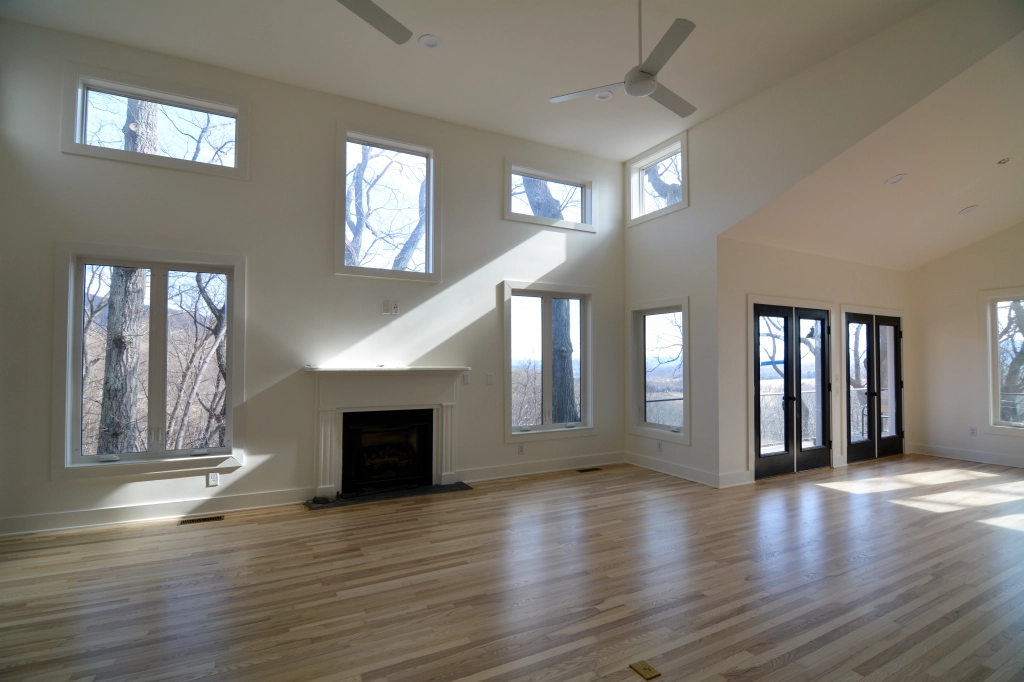
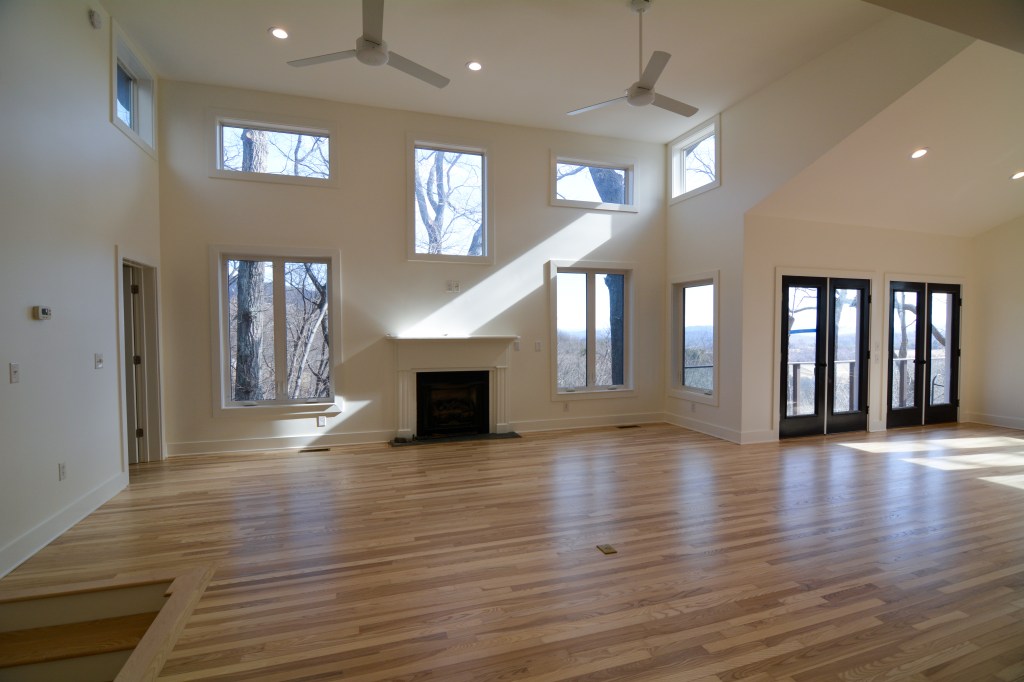
Before and After Pics
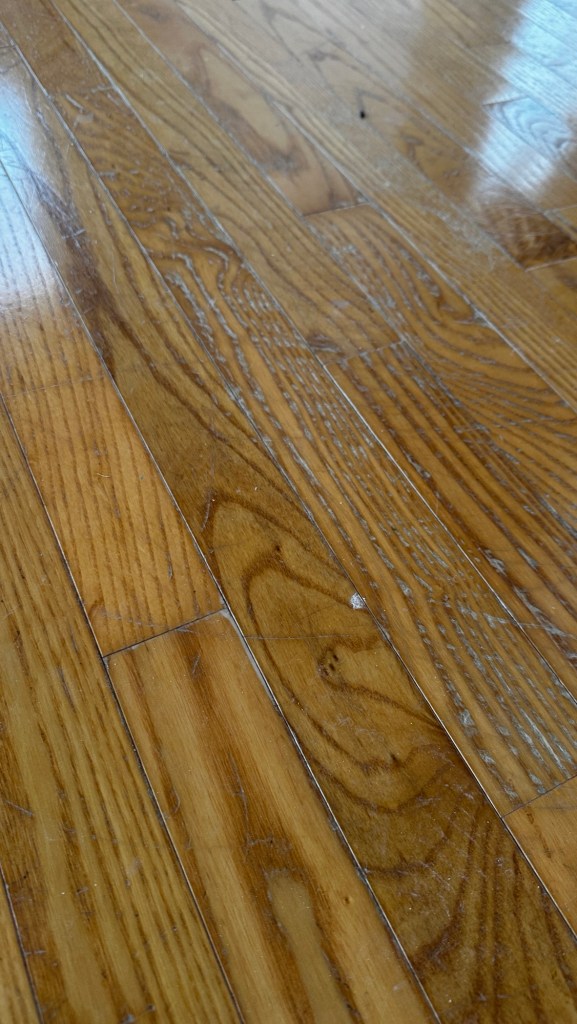
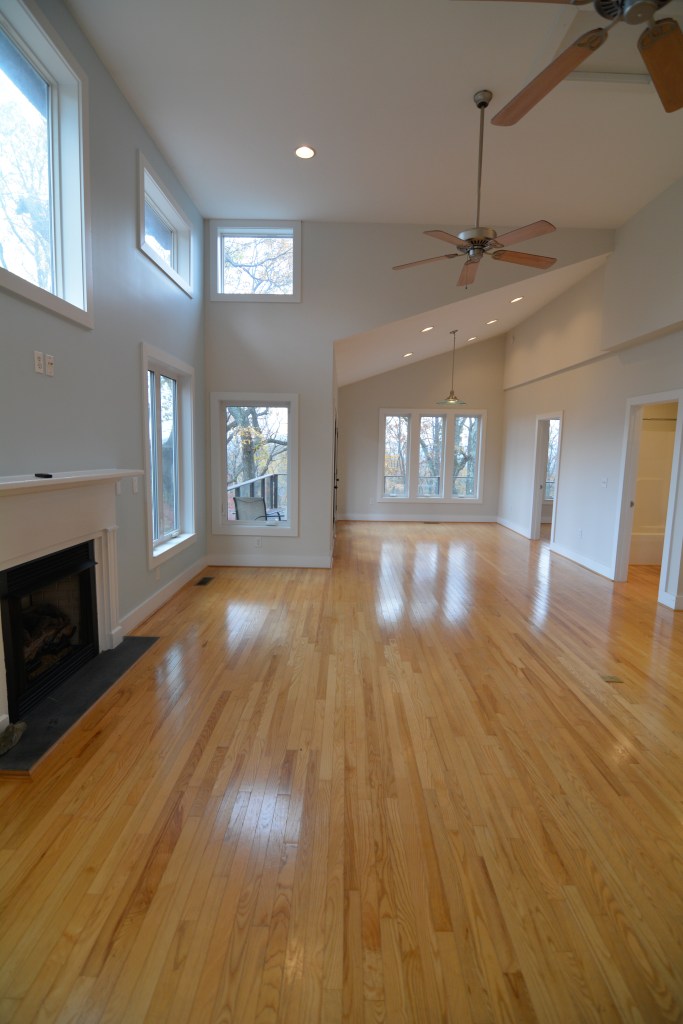
And here’s the final result! It feels so good to rid the place of the previously dingy light gray paint and scratched-up amber toned floors. What do you think?
Costs
Now to the juicy stuff! Here’s the cost breakdown (includes all materials):
- Demo and haul-away (kitchen, closet, wall): $500
- Paint: $7,500 (very roughly ~$3.50/wall sq/ft)
- Floors: $6,900 (~$4.90/sq/ft)
- Total: $14,900
I was originally hoping it would be closer to $12k, so that’s a good 25% more. I honestly had no idea though – we had never paid for professional interior paint (thanks to my dad who did most of the painting at our Richmond home!), and it’s been 12+ years since we had floors refinished. From researching online these numbers actually fell toward the lower end of the ranges I could find for cost per sq. ft.
The painting work also took a ton of prep – there were multiple large drywall seam cracks that needed to be skimmed and sanded, and all of the trim needed caulking and sanding. The high ceilings in the great room also added to the cost. Could we have gotten it done cheaper? Maybe, but the quality on the job is top notch. The crew also installed 4 new ceiling fans, new recessed light LED kits, and moved around a few electrical outlets – without charging me any more…so that’s a big bonus!
One hidden/indirect cost of all of this – our electric bill! It was $347 for one month, in a house we weren’t staying in! We’re assuming that the majority of it was from the floor sanding – those things are intense and had to be directly tapped in to our breaker box! Not huge in the grand scheme of things, but something we never would have thought about before.
Wrap-up
Overall I’m very happy with the progress so far and all of our choices. And learned some lessons along the way:
- Painting should be done BEFORE floors are refinished
- Always plan on replacing shoe moulding
- Everything is more expensive than you think
- Look out for hidden costs
Next up, we need to install the cable railing next to the stairs so we can fully cross that project off the list (and not have anyone fall down that stairwell!!). The kitchen install should also be starting soon, we’re expecting cabinets to arrive any day!

Leave a comment