It’s finally here!! Kitchen build starts this week and I’m so excited to see it come together. In honor of this milestone, I thought I’d share a more detailed post of the plans for the kitchen remodel.
The Before
The existing kitchen had a few big issues: 1) the layout was awkward and inefficient; 2) outdated style (early 2000’s maybe??); 3) the vent hood covered up a window. All of that led to the decision to fully rip it out and start fresh. Here are a few before pictures:
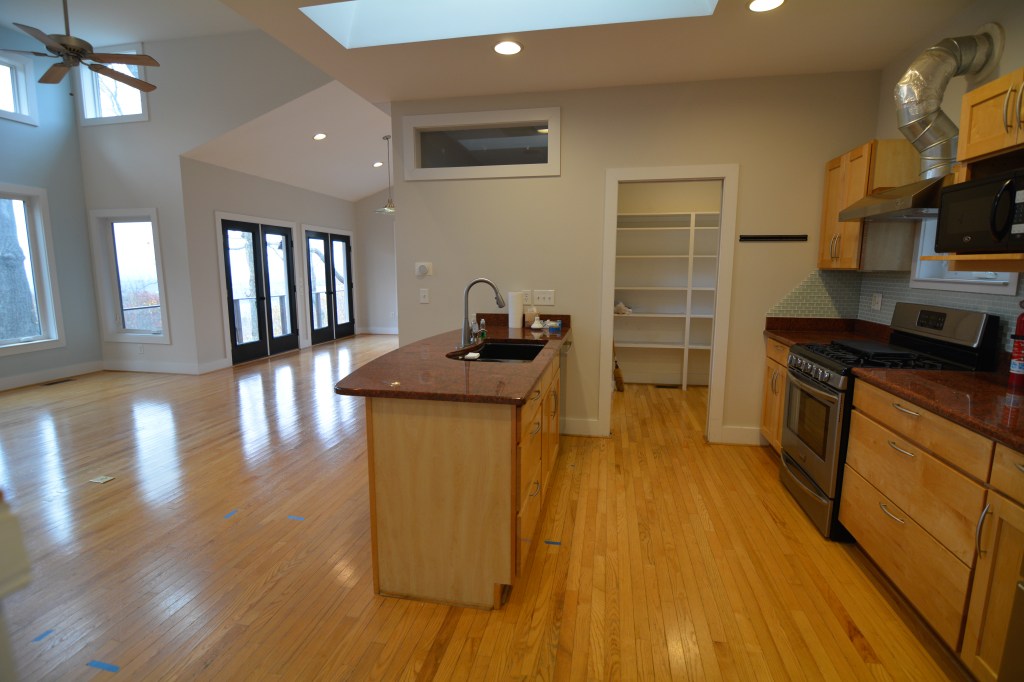

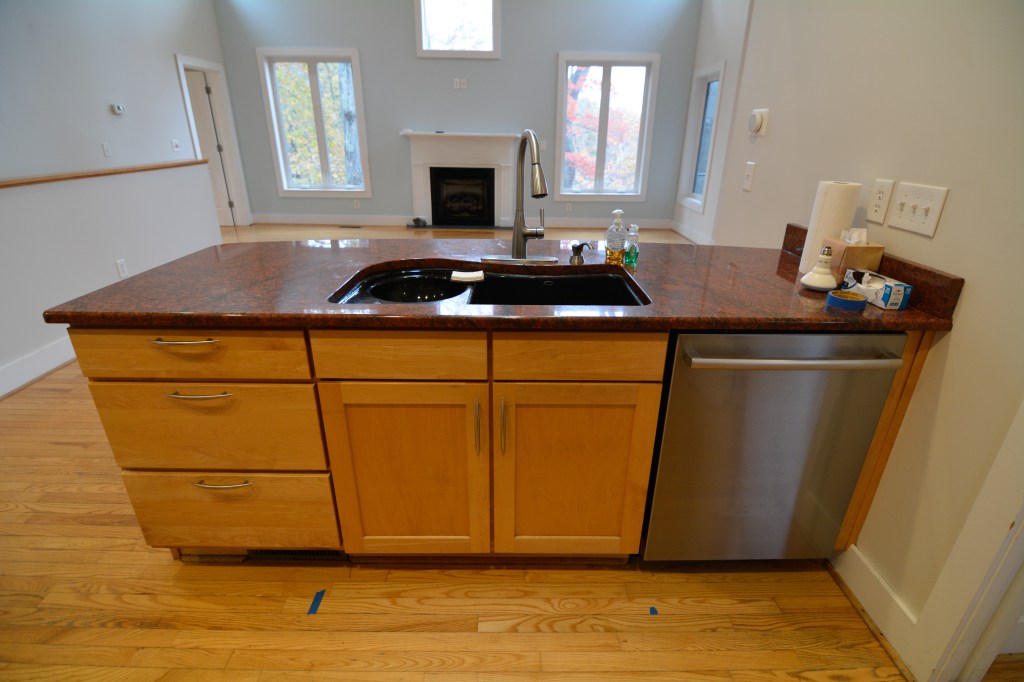
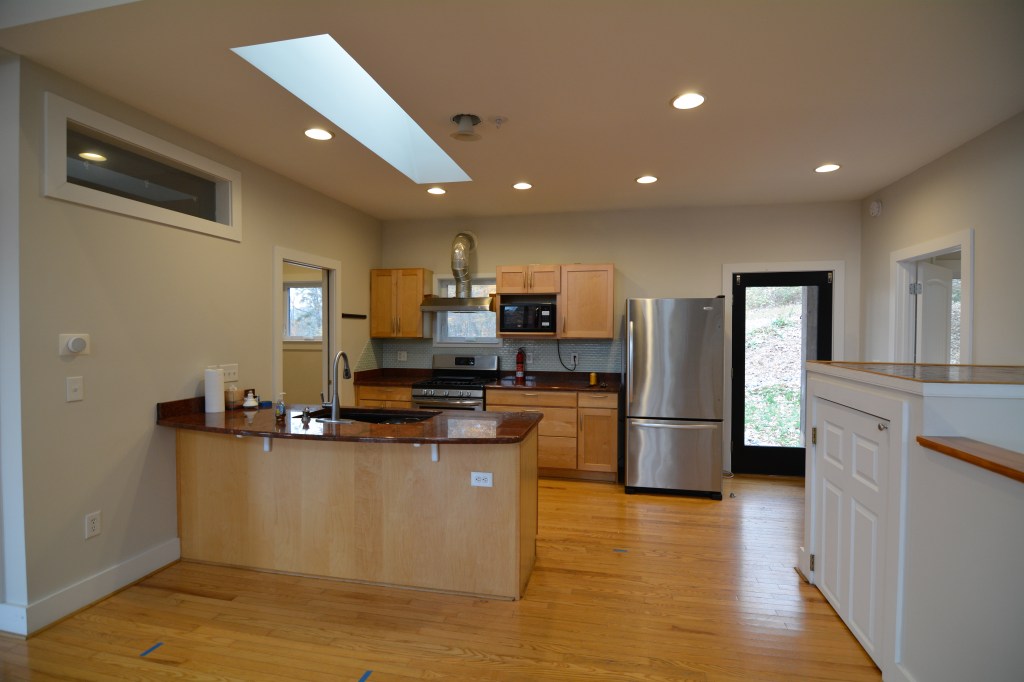
You can see here that the layout was not ideal. The fridge was right next to the entry door, which made it feel extra cramped when you walk in. The peninsula limits the flow and access, and wastes a ton of space because the wall it juts out from is otherwise unused. And with the sink in the middle of the peninsula, you lose the only possibility for a large prep counter.
New Layout
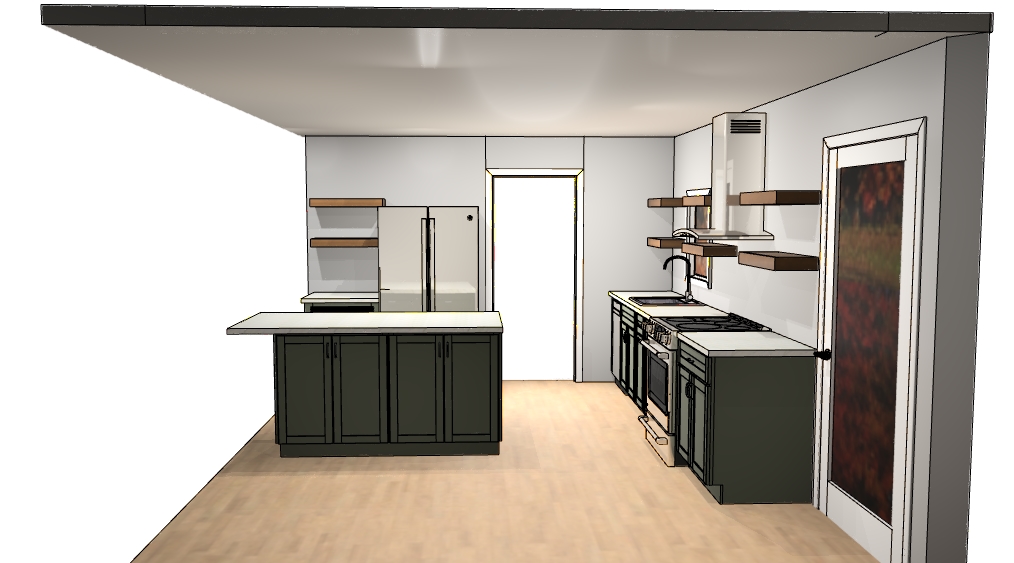
The new layout will be an L-shaped kitchen (with a break in it for the pantry door) with a small island. There’s just enough room to make this work. And, we removed the “hobbit” closet you see on the right in the above picture to make more room.
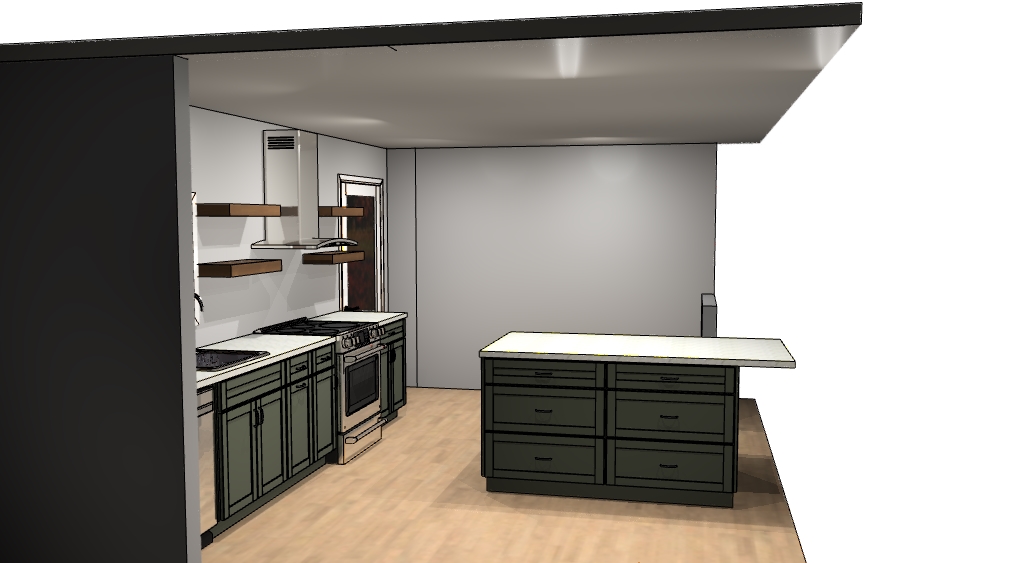
The island will provide much more usable counter space and a spot on the end to put a couple counter stools. The island overhang+stools will extend out a few inches into the main great room area, which will make the kitchen feel like it is more seamlessly part of the space rather than cramped into a little nook.
The sink will move to under the window where it belongs, with the dishwasher to its left and the stove and vent hood to the right. The fridge will move to the wall where the peninsula was attached so that it is no longer crowding the front door.


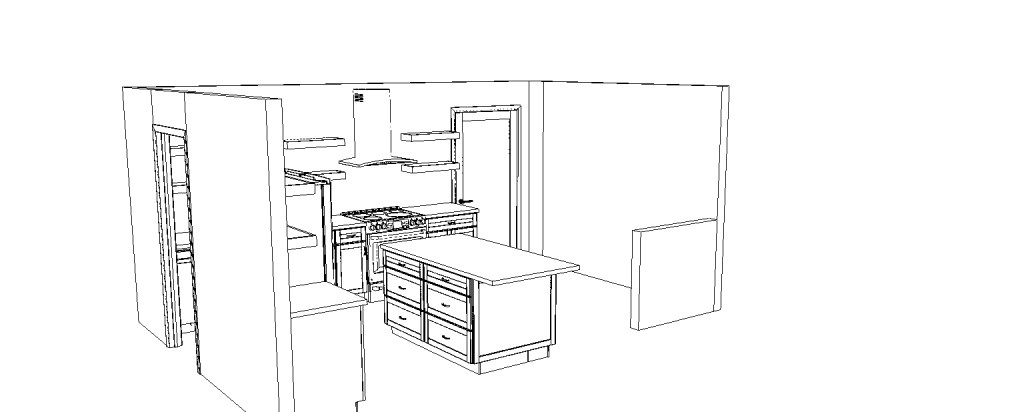
We opted for only lower cabinets, with open shelving above. There are a few reasons for this: 1) it will make it appear larger and more open; 2) in a rental, it’s nice to have some open shelving because it makes it easier for guests to find what they need; 3) it will feel a little more rustic and cabin-y to go with the overall vibe.
Open shelves have downsides of course, but we made sure to map out where everything will go to ensure we have enough space. Most dish ware will go in the drawers in the island, and we’ll be careful about what goes on the shelves around the stove because it could get dirty. Also, the pantry has a good amount of shelf space for food items so we don’t need room for that in the kitchen itself.
Design
I’ve been drooling over green kitchens for a while now…and a cabin in the woods seemed like the perfect opportunity. So, I went for it! Here’s the mood board for the kitchen:
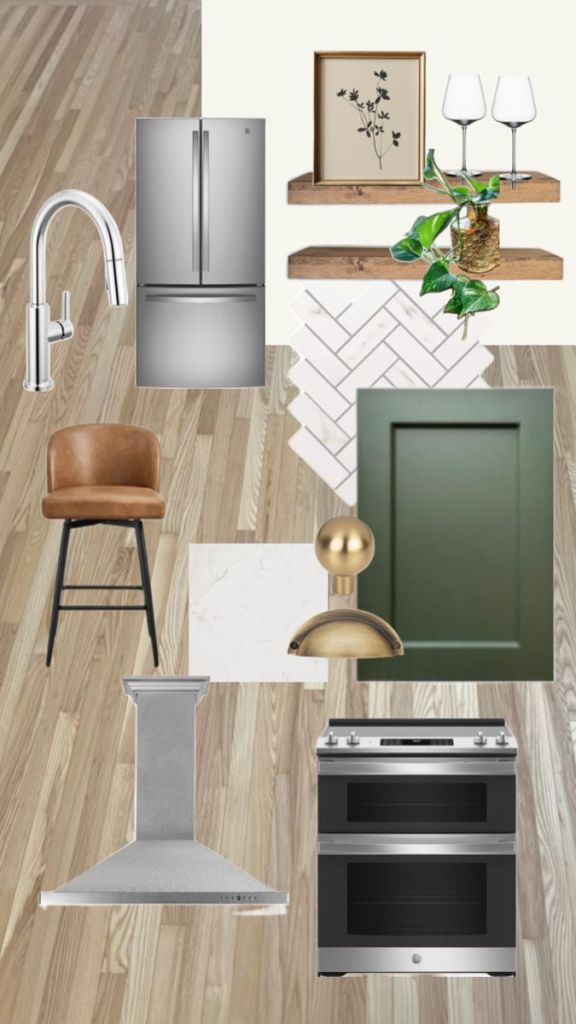
A little bit modern, a little bit rustic, a little bit organic. For the cabinets, I’ve been working with a local home improvement store that has a great design department. Here are the color renderings they produced (not the exact color but close):
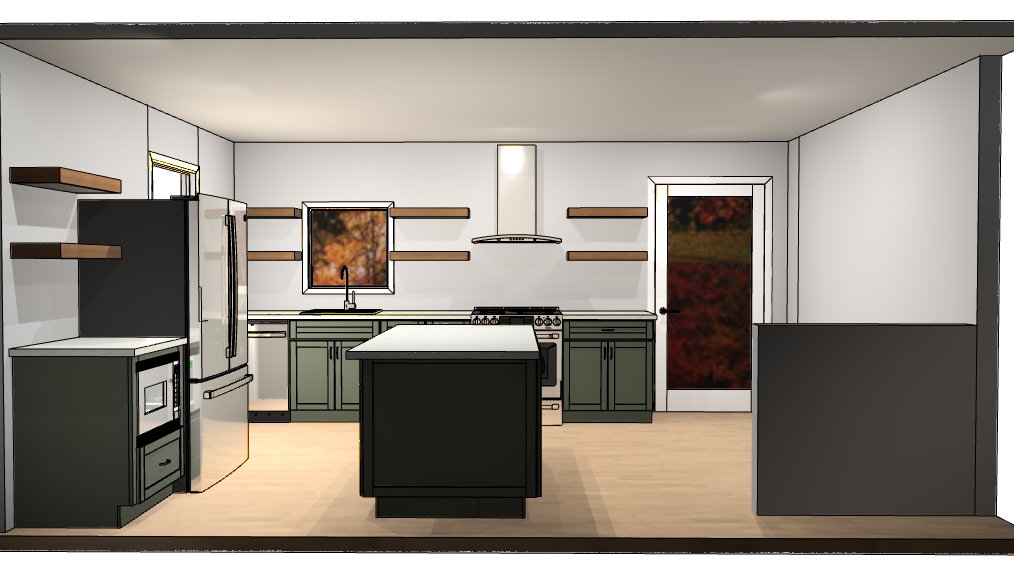
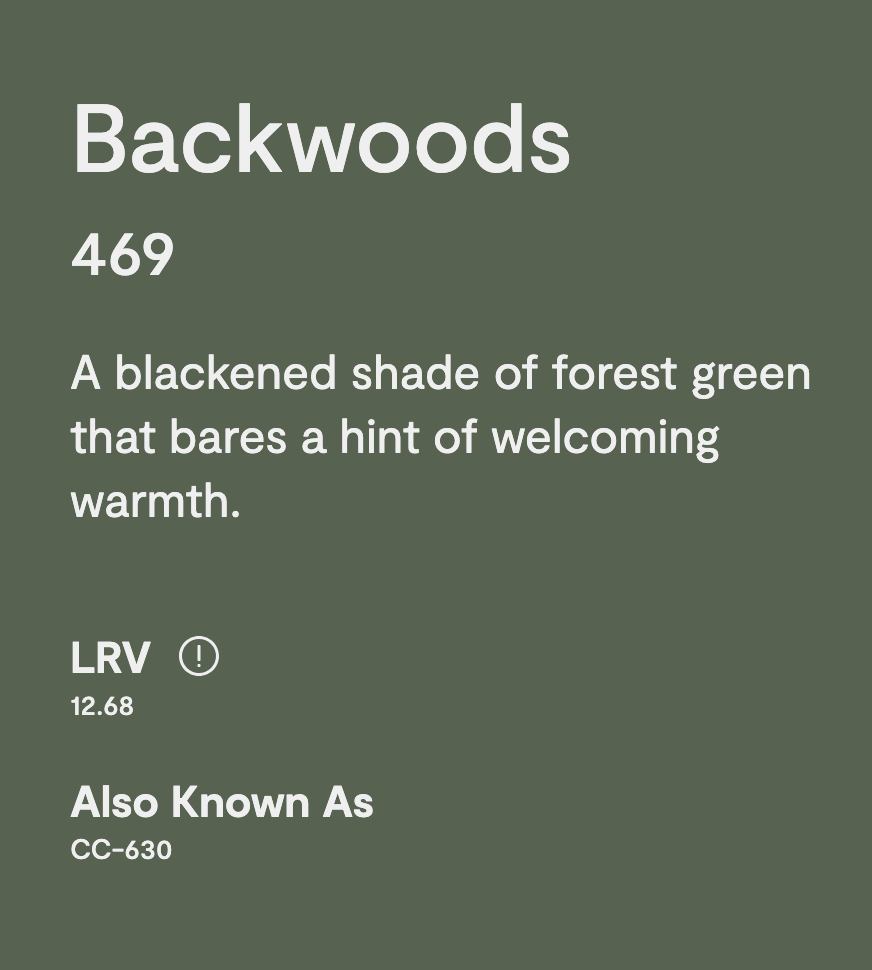
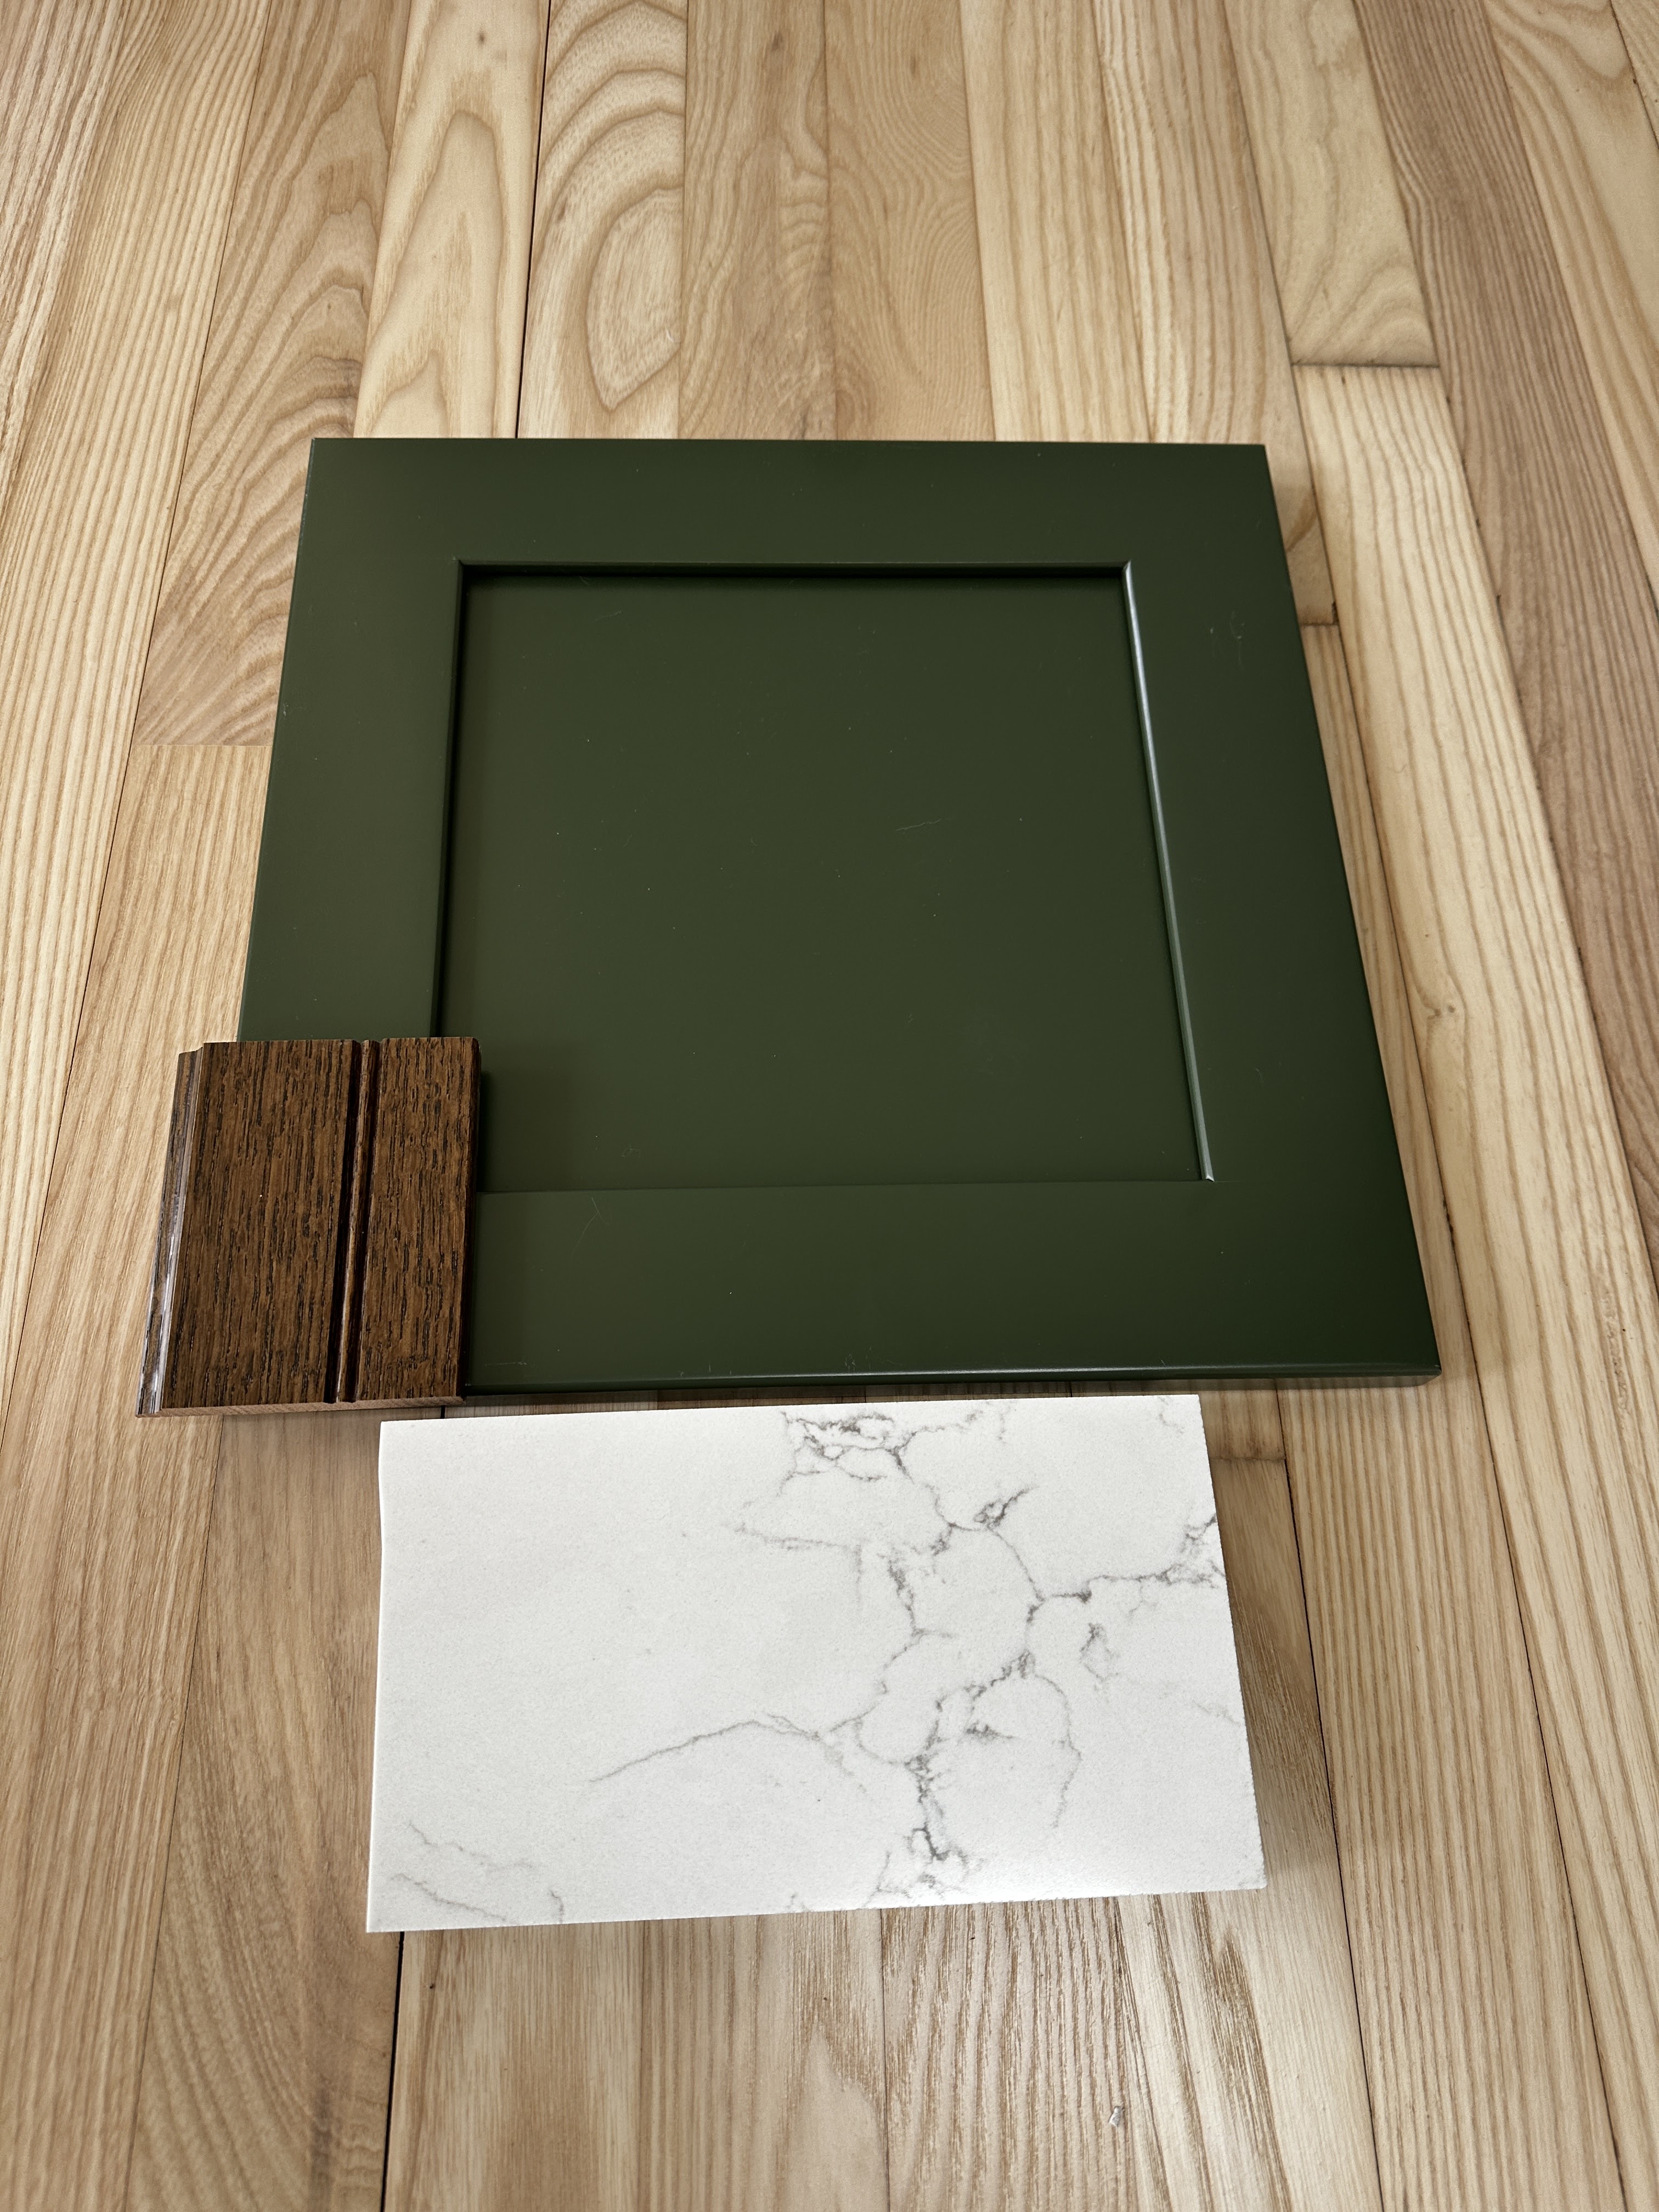
The cabinets will be KraftMaid brand in Benjamin Moore Backwoods. I looked at some of the stock green colors and none of them fit what I wanted – a darker, warm shade of green – so I went custom. It only cost about ~$1500 more for the custom color, which surprised me. The biggest downside of a custom color is the time for production. We had to wait ~2 weeks for a proof sample to come in, approve that, and then wait 8 weeks for the cabinets to arrive.
For the open shelving, we also ordered those through KraftMaid in oak with a finish called “Cabin”. I mean, I had to, right?? They will be a medium brown that should contrast nicely with the white walls, white tile backsplash (that I still need to pick tile for!!), and white quartz countertops.
That’s about it! This kitchen isn’t huge, but we’re making the most of the space with this new layout. Hopefully in a few weeks I’ll be sitting on the end of that island while Patrick whips us up some cocktails. Cheers!

Leave a reply to dolphinbravely70a9057c36 Cancel reply